Using LibreOffice to Format a Novel – Part 2: Formatting Your Words
Creating Paragraph Styles
So, we’ll start with the About page. Many guides refer to this as Front matter or something similar, so call it what you like. We just need to create a style for that part of the book.
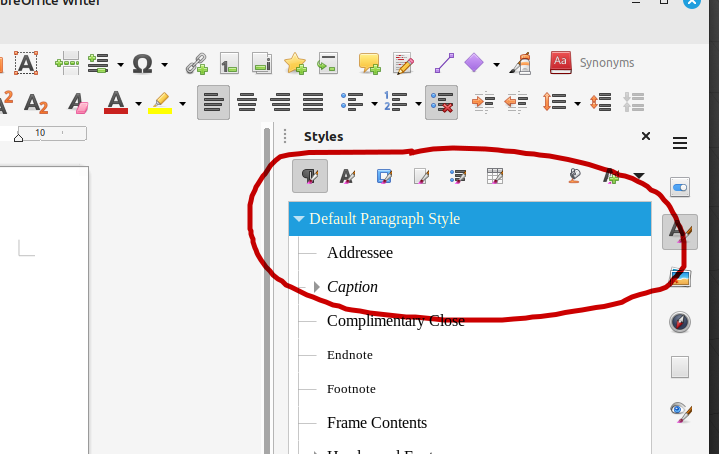
So again, we will start with the Default Paragraph Style, and base all other styles on that. In the Styles sidebar, select Default Paragraph Style, right click on it and select Modify.
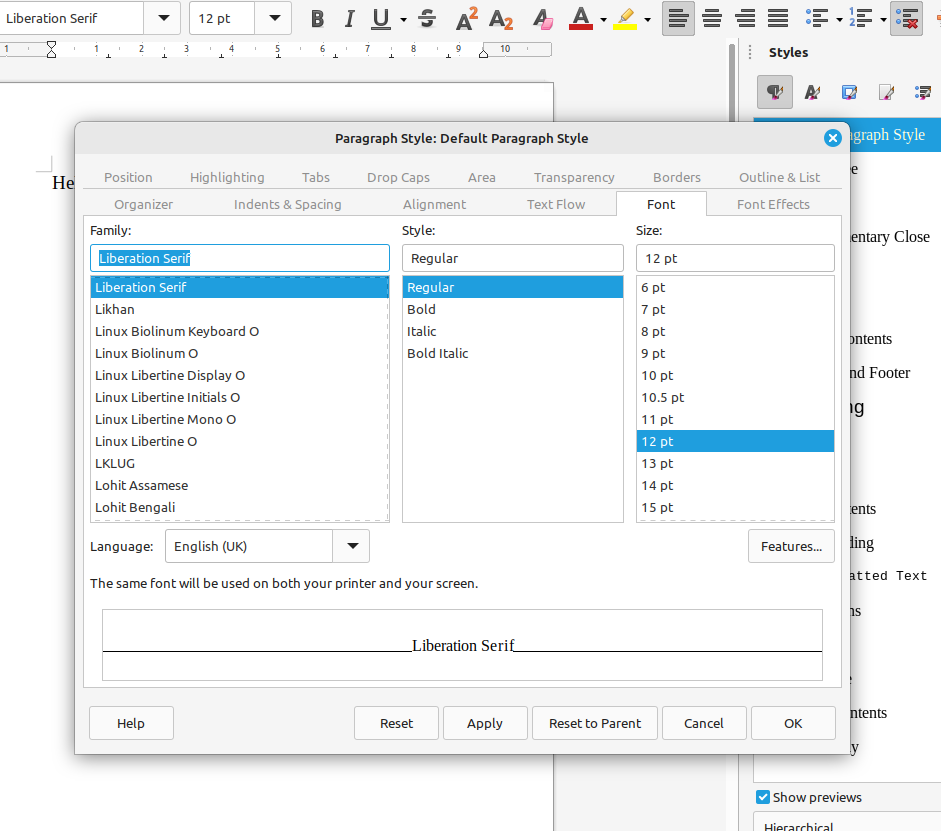
In the pop up window, select the Font tab. Now for novels you need to select a certain style of font and it needs to be at least a certain size. The font should be a font with serifs because that’s easier to read. You can search online for approved fonts but fonts you can use are Times New Roman, Book Antiqua, etc. The font I mostly prefer is Minion Pro, which I have at a 10.5 size.
Chose your font, select you size to be at least 10.5. Check the guidelines for the publishing service you are using, but normal book go up to size 12, but you can make font larger for extra large print versions.
Next select the Alignment tab and select Justified. Novels are usually justified. It looks neater and is easier to read.
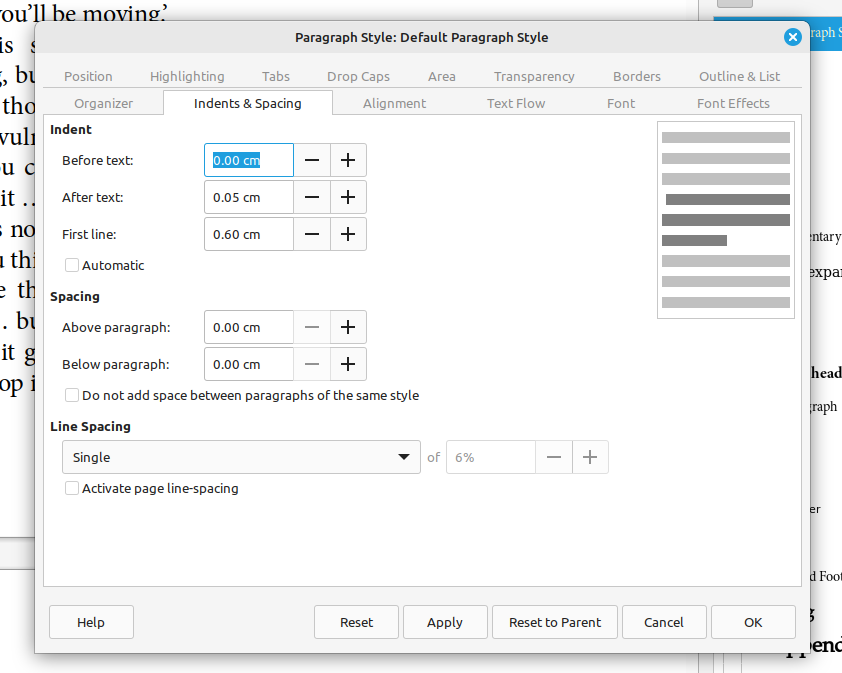
Next select the Indents & Spacing tab and indent your First Line to – say – 0.6cm (that’s about a ¼” in old money). Also, I’ve found that italics can cause problems by leaning into margins, so I also add a 0.05cm indent to the After Text section. For a novel you generally don’t want any spaces above or below your paragraphs so leave these at 0.
However, if you do want spaces between each paragraph, I’d recommend adding the space above the paragraph rather than below it. Adding it above actually can make it easier to get the layout you desire.
Once you’ve done all this select OK.
Front Matter
Now for the front matter, I will create a different sans serif font because that will look nice and professional like I’ve thought about these things. The formatting choice can be anything you like.
In the Styles sidebar, right click anywhere and select New.
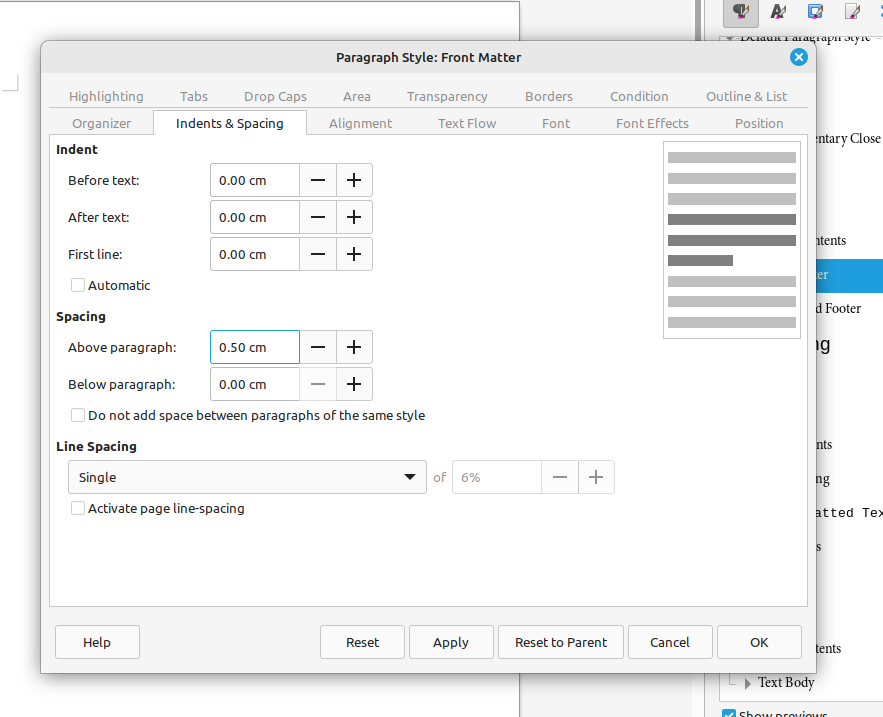
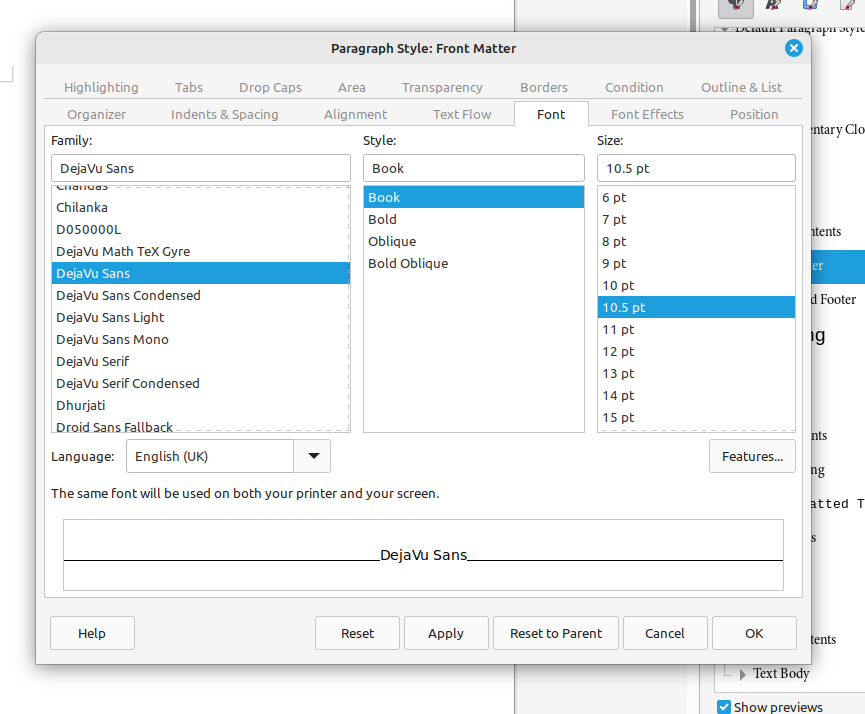
In the pop up window, select the Organizer tab and give the style a name: ‘About’ or ‘Front Matter’ then alter the other features as before. For this I will have the indents at 0 but add a 0.5 above the paragraph. I’m picking a sans serif font called DejaVu Sans and I will keep the alignment at Justified.
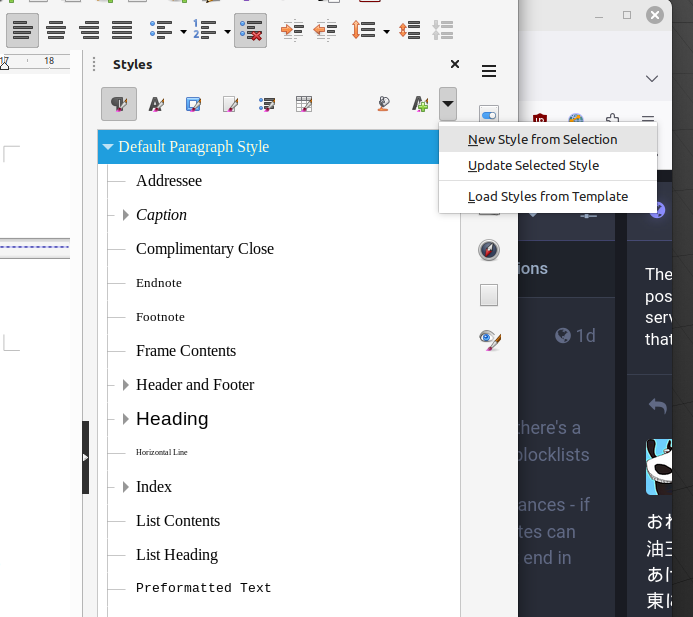
Next I will create a Heading version using the same font. As before I will select Front Matter in the Styles sidebar then select New Style from Selection from the small triangle above. Give the new style a name – Front Matter Heading – and select OK.
(There is a curious feature in LibreOffice that dates back to OpenOffice, that is: the only way to create a new style based on another is via the triangle at the top of the Styles sidebar, or by right clicking one of the styles in the list. I’ve found no other way to do this, no option in the top menu, nothing).
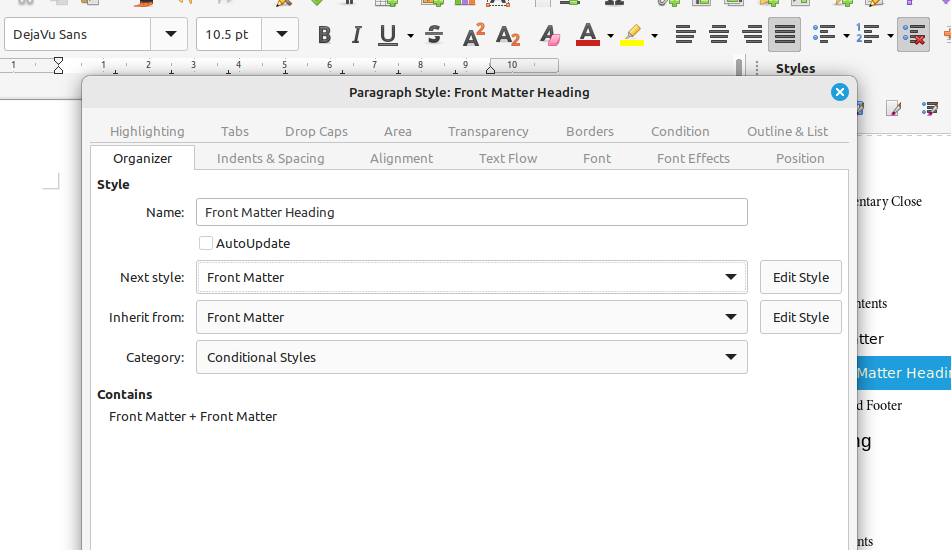
In the sidebar, right click on Front Matter Heading and select Modify. In the pop up window go to the Organiser tab and change the Next Style to Front Matter. In the Indents & Spacing I’ll keep the 0.5cm above the paragraph but add also a 0.3cm below the paragraph. Since the next style will be Front Matter which has a 0.5cm space above each paragraph, this will create a 0.8cm space between the header and the rest of the front matter.
I also remove the indents because I want the heading aligned centred. If I leave the indents on, anything centred will be slightly off centre. And finally in the Font tab I will change the font to bold and size 13.
This new Paragraph should already be selected, but if it’s not, you can select it in the Styles sidebar, or from the Paragraph Styles drop down menu at the top left of the window
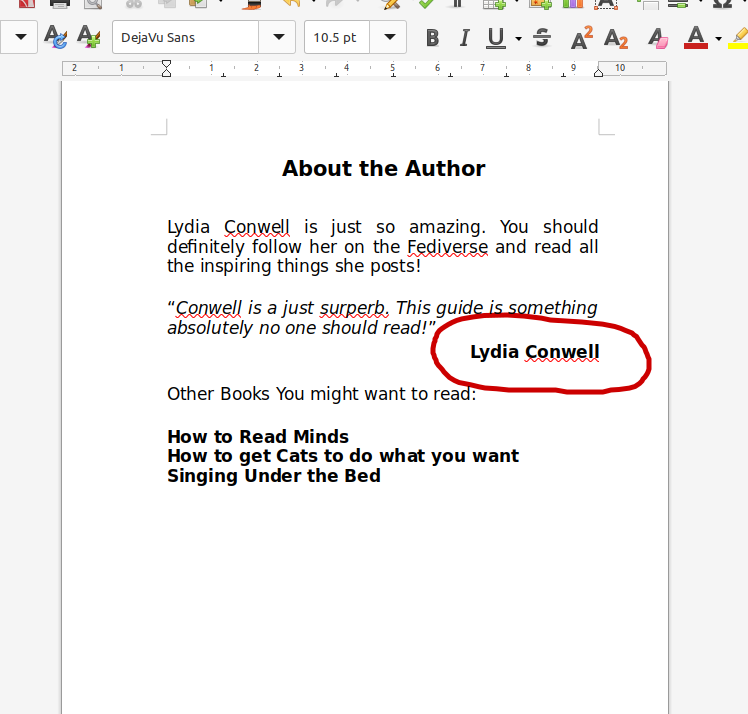
I type my title About the Author, then when I press Enter, the next line automatically becomes the Front Matter paragraph style.
You can add direct formatting – adding bold or italics, or changing font or the alignment at any time. If you want to remove direct formatting and revert back to the Paragraph Style, you simple right click on the paragraph, or select all the text you want to change then right click, and select Clear Direct Formatting.
I can also add more advanced direct formatting by right clicking on a paragraph and selecting Paragraph > Paragraph. Changes made here will only affect the paragraph I right-clicked on. If I want to change all the paragraphs with the same style I can select Paragraph > Edit Style.
So, for example, for the name under the quote, I directly changed the properties of that individual paragraph. Alternatively, I could create a new Paragraph Style specifically aligned to the right with bold text.
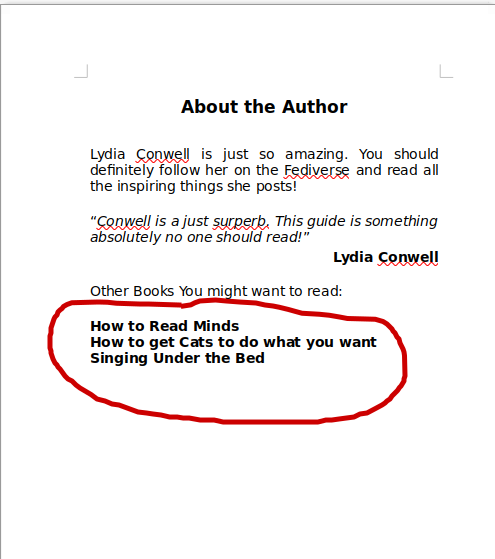
I can also make LibreOffice remove spacing before and after paragraphs by holding shift before I enter a line break, so although I can create a style that has a space above and below, I can manually ignore it. The part highlighted in the below image is the same Paragraph Style as the quotes above, but the spacing has been ignored by pressing Shift + Enter at the end of each line.
You can of course use the List function on LibreOffice, which adds numbers or bullet points, etc, and the list styles can be edited just like paragraph styles. But I just wanted to show you the Control + Enter feature because it does come in handy sometimes.
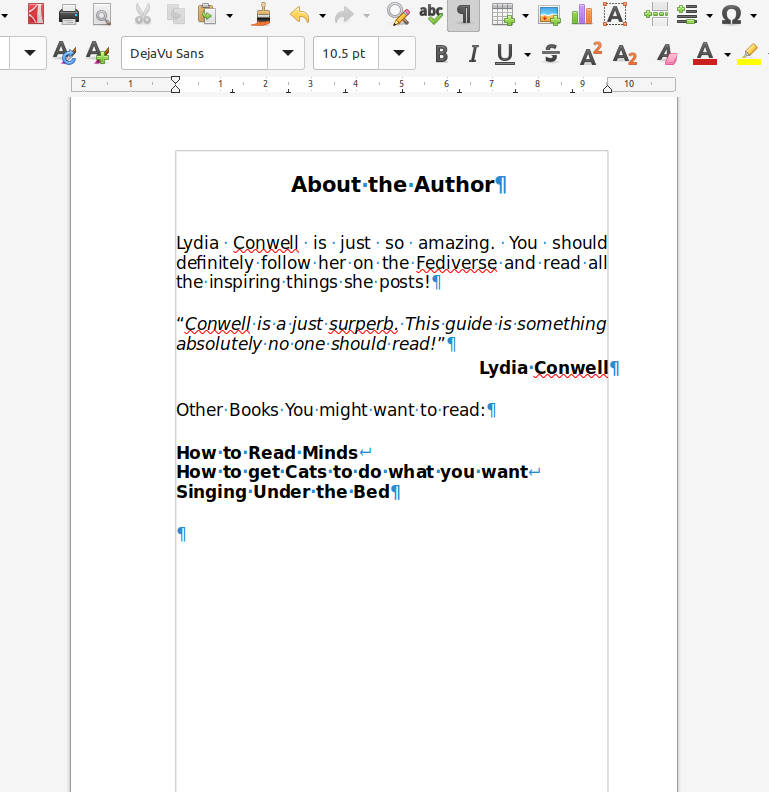
Also note: If I display the formatting marks, there are no uses of pressing enter to create spaces between paragraphs. Each line ends with a line break and the spacing has been created using paragraph styles. This is important because, not only does it make changing the look really easy - I can remove or add spacing any time - it also helps when creating ebook files.
The neater and more controlled your manuscript the better. It’s important to avoid sloppy formatting, like several page breaks in a row. Such things usually make the ebook software go bananas.
Now, I’ve finished with this page. I can create a Page Break by pressing Control + Enter and this will take me to the next page style …
[End of Transmission]
Tune in next time for Part 3 in which the other pages will be formatted.