Using LibreOffice to Format a Novel – Part 3: Formatting the Rest of your Opening Pages
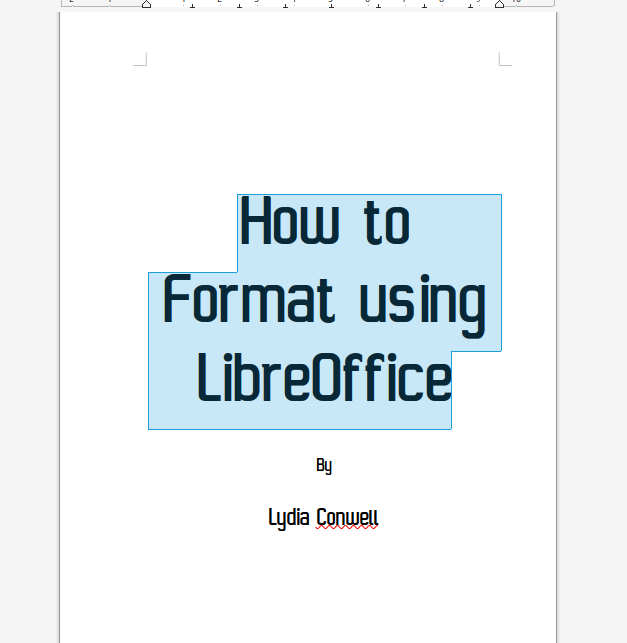
Title Page
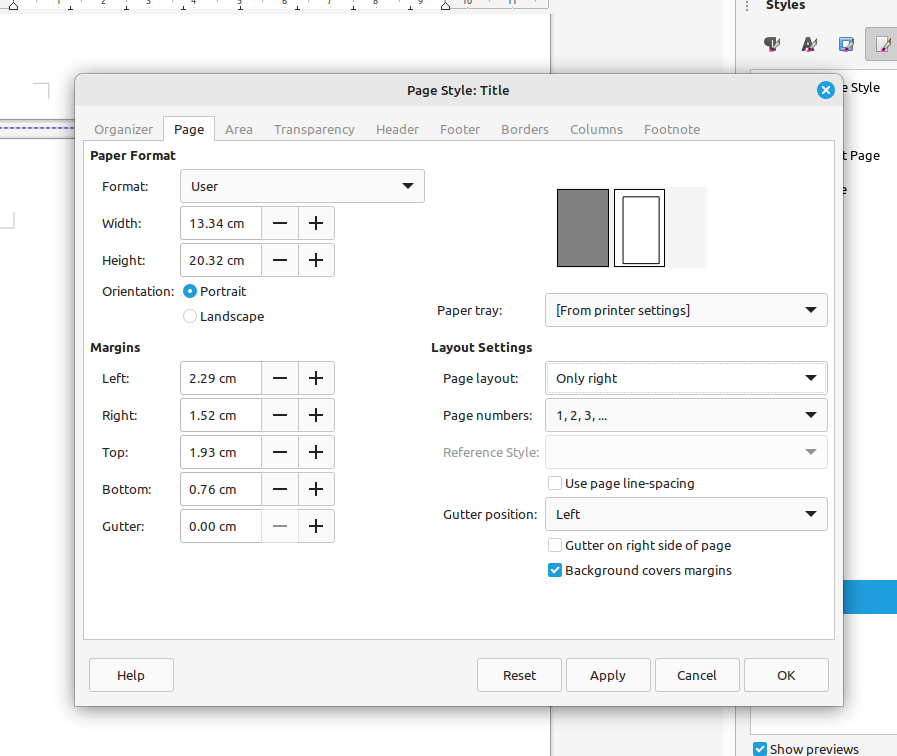
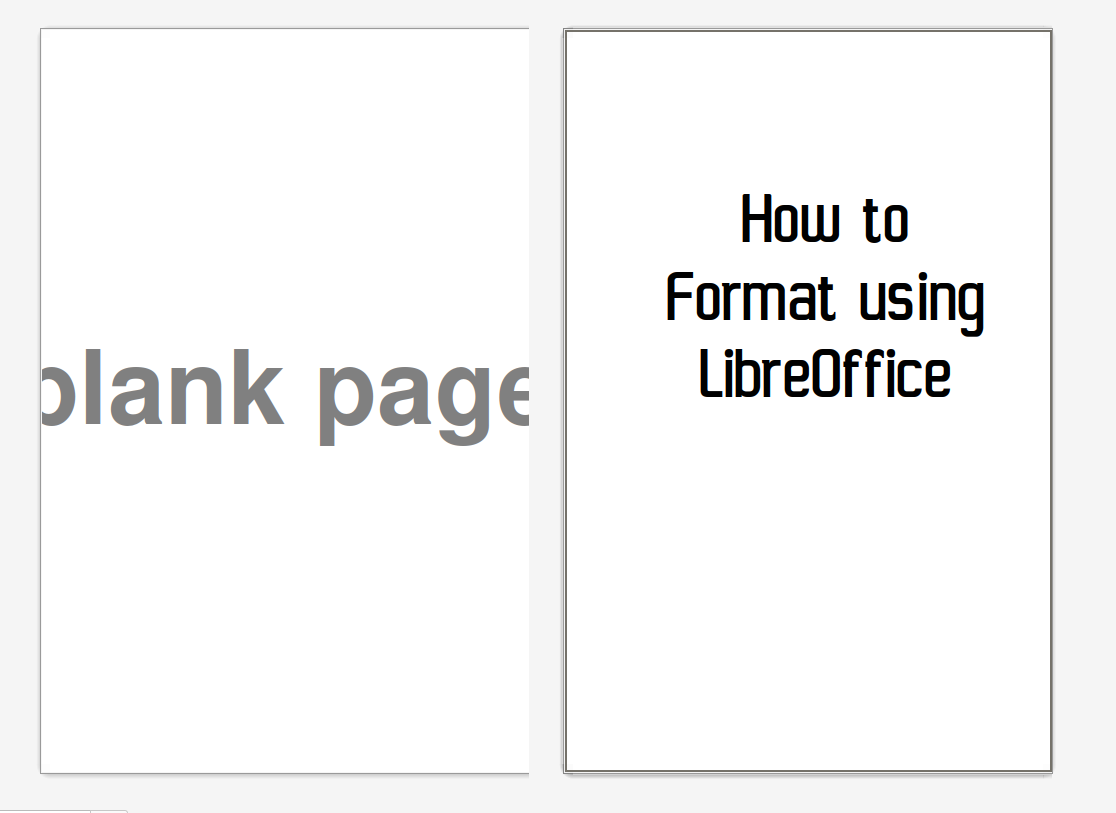
The title page should always be on the right hand (odd numbered) page. So I’m going to have to change the Page Style.
In the Styles sidebar, select the Page Styles icon and find the Title style. Right click on it and select Modify. In the Page tab, change the Page Layout to Right Only. This will put every title page on the right and create a blank page if necessary.
If you look at the Print Preview and display it as book layout …
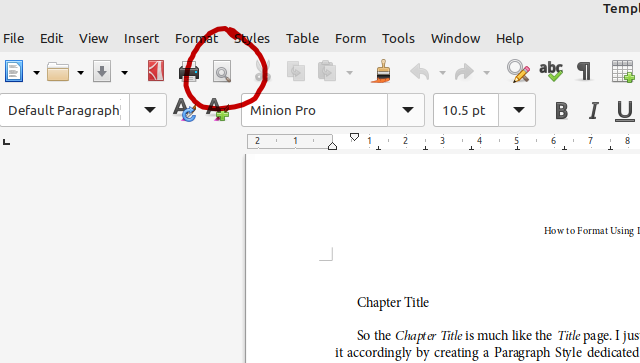
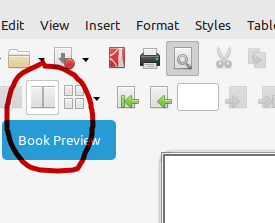
… you will see a blank page has been added that does not exist in your manuscript.
For the title Paragraph Style I created a new style without any indents either side, centred, with the font at 60pt. I then created a smaller Author Name style at 20pt to go below. I directly formatted the word ‘by’ and made it slightly smaller.
Another page break takes me to the Copyright page.
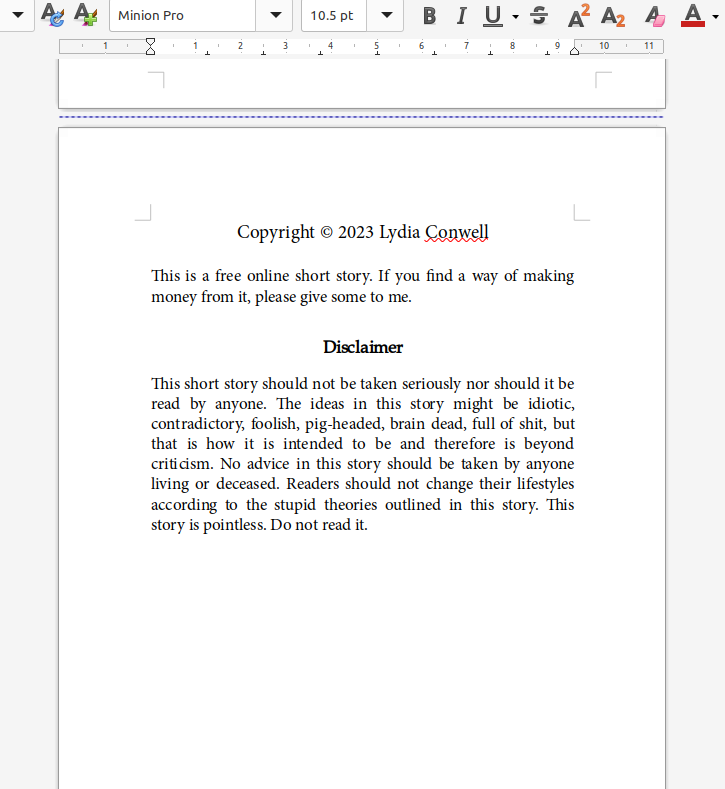
Copyright Page
The copyright page doesn’t have to be on the right so this page would appear straight after the title, printed on the back of the title page – i.e. there is no blank page added.
The copyright page is essential and every self-publishing service will have a specific way for you to do it. Some will insist it is the first page (as with ebooks), and some will insist the author’s name and date of publication is at the very top. You will need to follow the specific guide for whichever publishing service you are using. You might also be given an ISBN and they will tell you where to put it.
You might want to include a disclaimer or a block of text asking people not to distribute your work, or use it for AI, or you might want to request money. Again, the self publishing service you’re using will probably give you some pre-written legal-ese, or you can look online for different recommendations.
For this page I created new Paragraph Styles based on Default Paragraph Style, but with the indents removed.
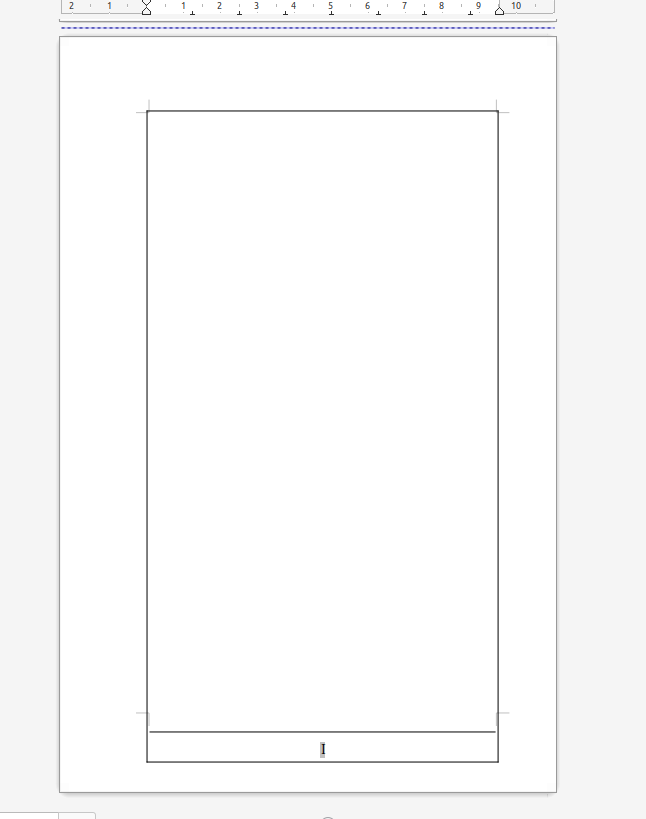
This time, however, I’m not going to just do a normal Page Break. I’m going to do a Manual Page Break. This will allow me to change the page number so if I add a page number, it can begin at 1.
To do this go to the top menu, select Insert > More Breaks > Manual Page Break.
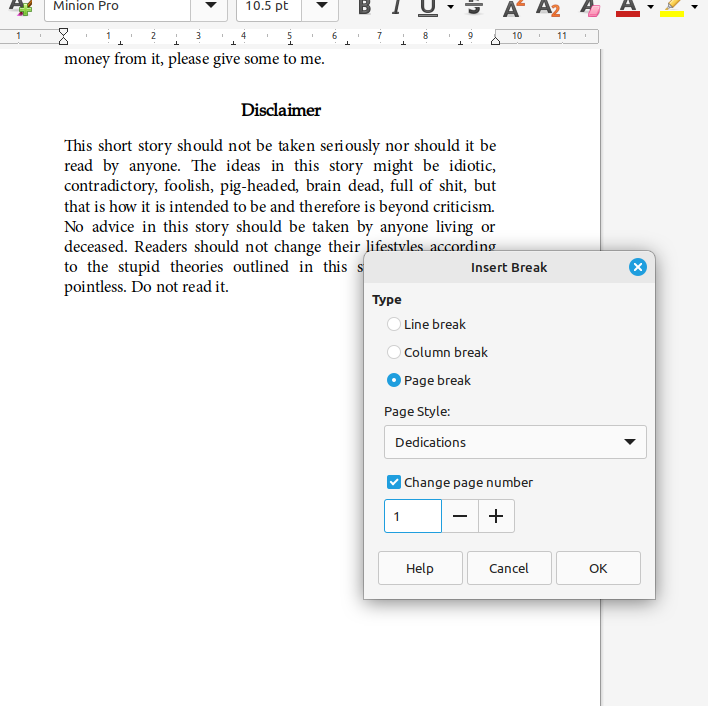
In the window, select the next Page Style as Dedications, and select the Change Page Number option. Set the next page number to 1.
Dedications
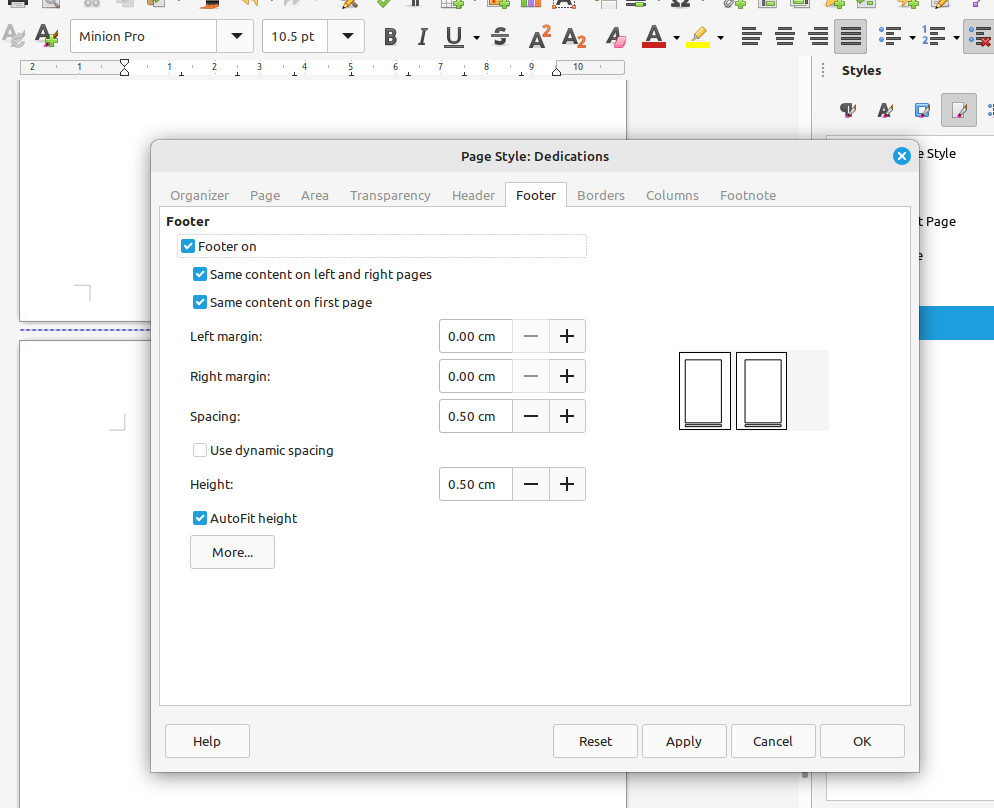
As I mentioned earlier, I’m going to leave these pages blank. But I will add a footer with a page number, mainly for decoration.
Modify the Dedications Page Style and go to the Footer tab. Select Footer On and make sure Same Content Left and Right is on.
Now click at the bottom of the Dedications page and the footer should be revealed.
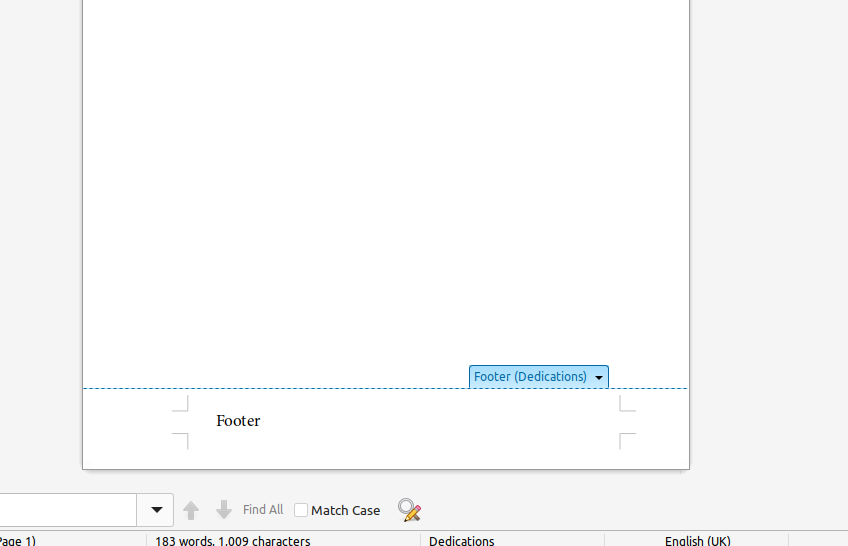
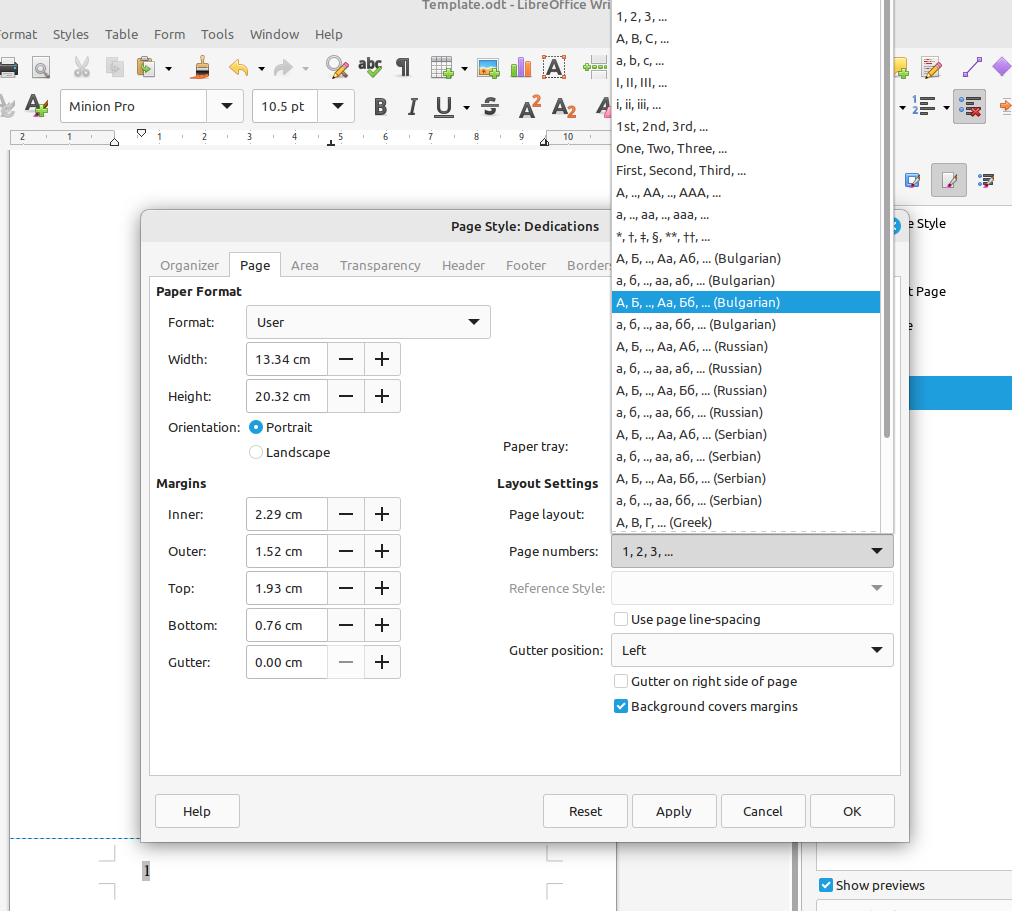
Make sure the text cursor is in the footer, go to the top menu and select Insert > Page Number. You can centre it also. I’ve chosen Roman numerals for these pages. The style of the numbers is changed by modifying the Page Style, under the Page tab.
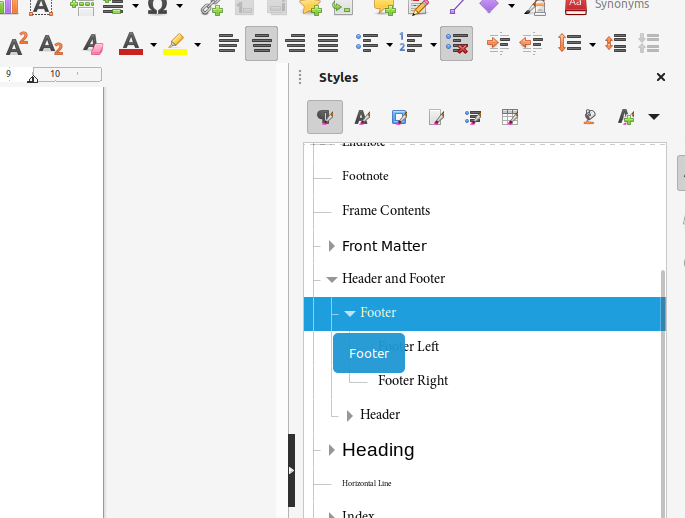
You might notice the Paragraph Style is called Footer. If you edit this style you can make sure there are no indents, you can change the size and type of the font and you can change the alignment.
Now just for the fun of it, I’m going to add a dividing line between the main part of the page and the footer. You can do this two ways: You can add a border to the footer, or you can add a border to the main Page Style. You can also add borders to paragraphs, so make sure you know which one you’re working with: Paragraph Style or Page Style.
For the footer I need to work with the Footer Paragraph Style. In the Style sidebar, select the Paragraph Styles icon (that looks like a line break symbol), right click and select Modify.
In the Borders tab, I added a thin .75 line to the top and increased the padding to .25cm. Make sure you deselect the Synchronize option at the bottom of the padding so only the top padding is changed.

Just for fun, I also created a Dedications Paragraph Style and added a border around it.
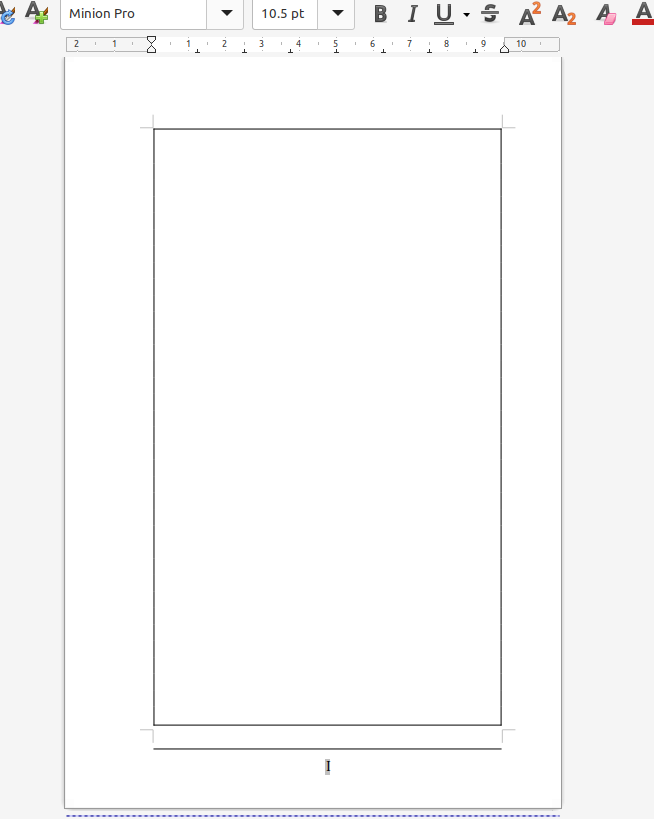
As far as I can tell the only way to create a box around the main text area is to apply the border to the Paragraph style. This separates the footer and header from the main part of the page. This means you have to fill you page with text or line breaks in order for the border to look right.
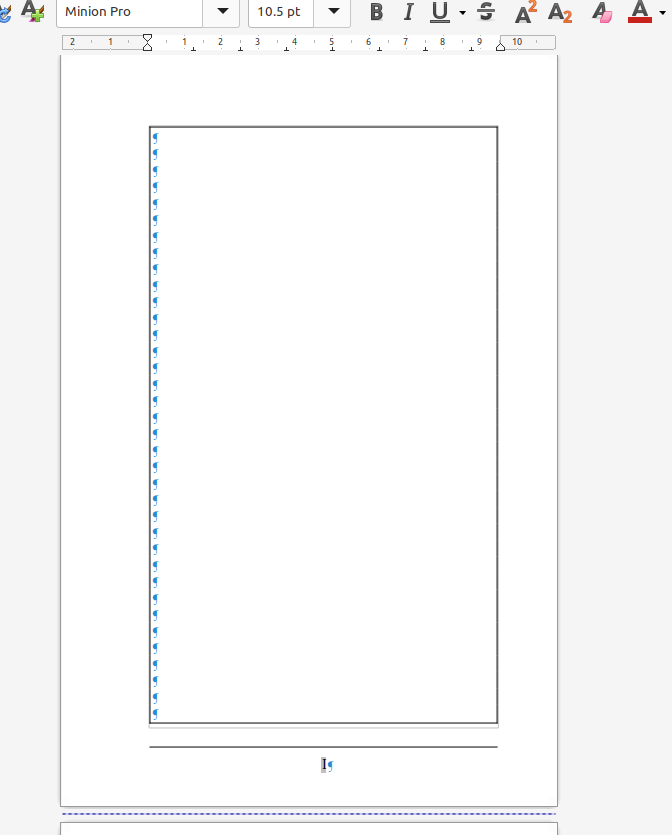
This is OK because you will only be doing this for a printed novel. You do not use borders for ebooks, nor do you use page numbers, nor do you use multiple line breaks..
If you add a border to the Page Style, you get a border that will go around the outside edge, including the footer and header. But this version means you don’t have to fill the page with anything for the border to look right.
I created three pages which are numbered I, II and III, then another Title page. Because the Dedications Page Style is set so the next style is also a Dedications page, I must create a Manual Page Break to tell LibreOffice to enter a different Page Style.
So Insert > More Breaks > Manual Page Break. Then select Title as the next Page Style.
Second Title Page
So you will see that because the Page Style is different to the dedications page, the page number has been removed. You will also see on the print preview that LibreOffice has also included another Blank Page because the Title page always appears on the right. (You can add a fourth Dedications page if you like to get rid of the blank page. This will give you another page with borders and IV at the bottom).
For the title simply copy the title from before, without copying the Author Name, and paste it into the second Title page.
All of the first pages of the novel are complete. Now it’s time to begin the actual novel section!
So, again, we use a Manual Page Break and set the next Page Style to Chapter Title.
[End of Transmission]
Tune in next time for Part 4 ...