Using LibreOffice to Format a Novel – Part 4: Formatting your Main Novel Pages
Chapter Title
So the Chapter Title is much like the Title page. I just design it accordingly by creating a Paragraph Style dedicated to that page.
I first modify the Page Style so it appears Right Only, meaning this page will appear on an odd numbered page and LibreOffice will create a blank page between this page and the Title page.
I went with this …
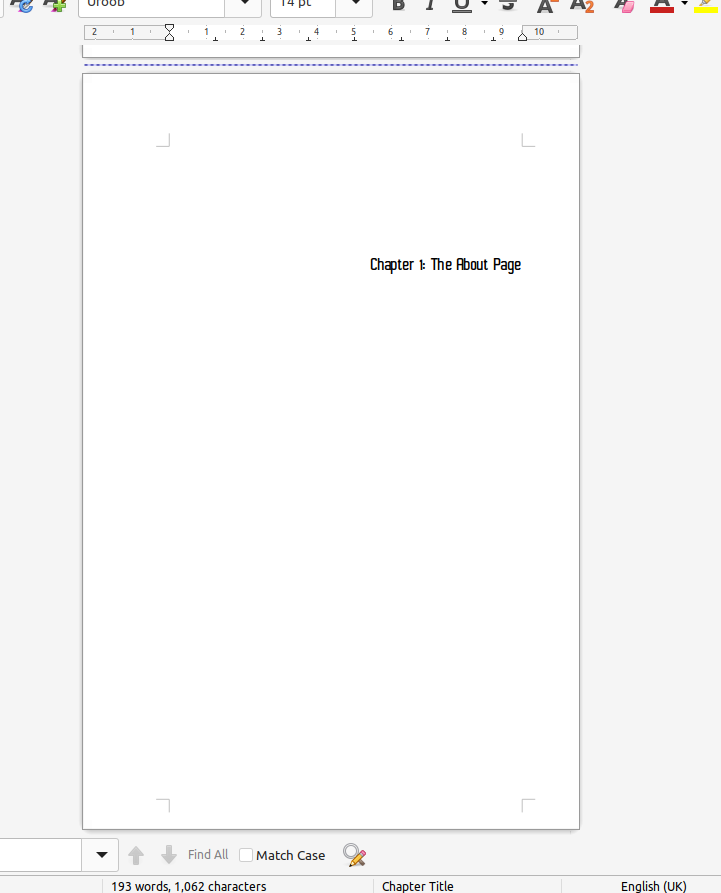
… because … why not? There is 3cm space above the paragraph and the paragraph is aligned Right.
I’ve already assigned the Page Style Chapter First Page as the next page style, so when I do a Page Break (Control + Enter), the next page is automatically Chapter First Page.
However, I want the page count to restart at 1, so instead I’ll do a Manual Page Break: Insert > More Breaks > Manual Page Break. I select the next section as Chapter First Page and check the Change Page Number box and set the new page number as 1.
Chapter First Page
The reason I create a separate Page Style for the first page of my chapters is so I can make sure it appears Right Only. I usually don’t bother to do this, letting the pages appear whichever side they naturally land on, but for this guide I’ll go through formatting a separate first page.
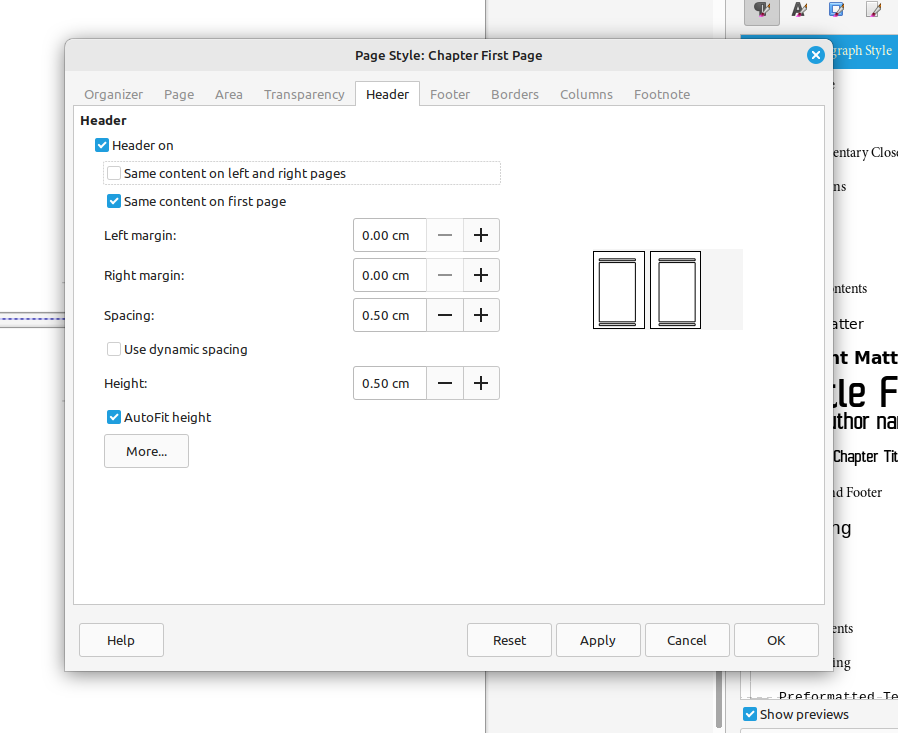
I modify the Page Style and add both a Header and a Footer. For the Header I deselect the option ‘Same content on Left and Right pages’. This means I can have the author’s name on one side and the book title (or the chapter title) on the other.
In the Header I simply write in the title of the book. Since this page is on the right side of the book, I will align the header Right.
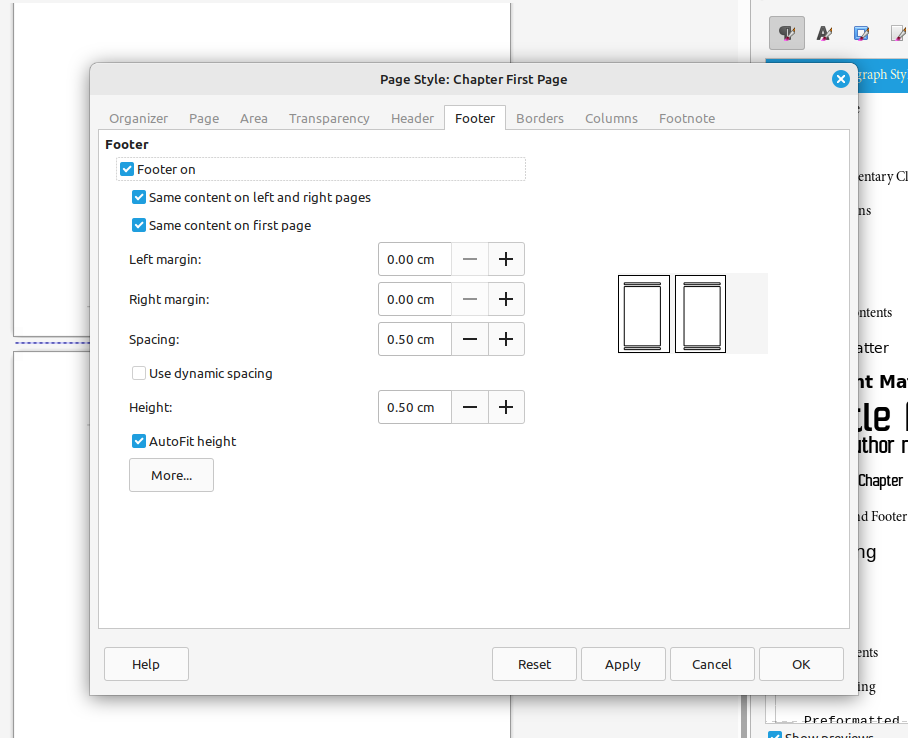
I’ve already used the Footer Paragraph Style on the Dedications pages and that includes a border above the text. For this page I don’t want to the border so I created a new Paragraph Style based on Footer and removed the border and padding from it. I then inserted a page number as before but left it as regular numbers.
If I don’t want the page number to show on the first page, or be different in some way, I can uncheck the Same Content On First Page box. This is sometimes how printed books are formatted. The page number will start at 2 on the second page.
Once the Header and Footer are done, I can focus on the look of my paragraphs.
You can create a Paragraph Style for the first paragraph based on Default Paragraph Style called Chapter First Paragraph. This allows you to add some fancy features to the first paragraph of each chapter or section.
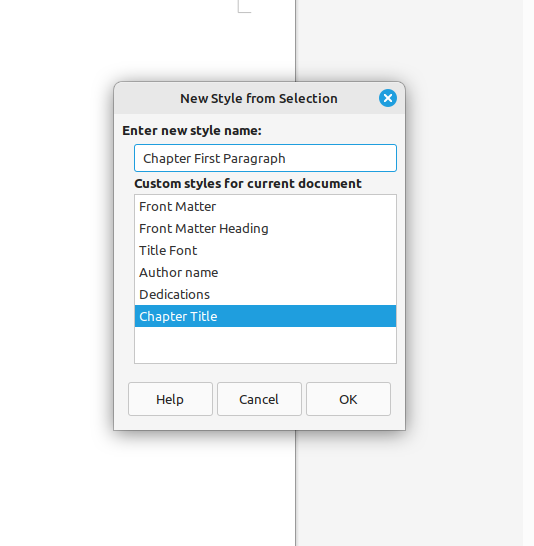
My Chapter First Paragraph is identical to Default Paragraph Style but has a 3cm space above the paragraph and includes drop caps for the first letter of the first word. In the Organizer tab I make sure Default Paragraph Style is the next style so that when I finish typing the paragraph and press enter, the next paragraph will automatically be Default Paragraph Style.
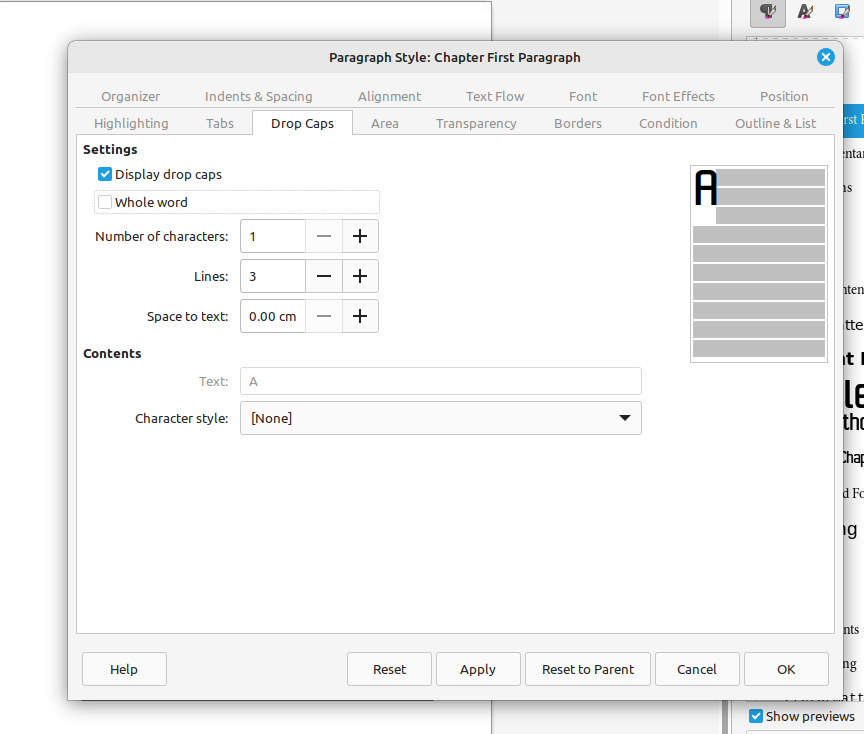
To do drop caps, modify the Paragraph Style, go to the Drop Caps tab, and adjust to your liking. I’ve chosen the first character, to take up three lines of text.
When I paste in some text it looks like this:
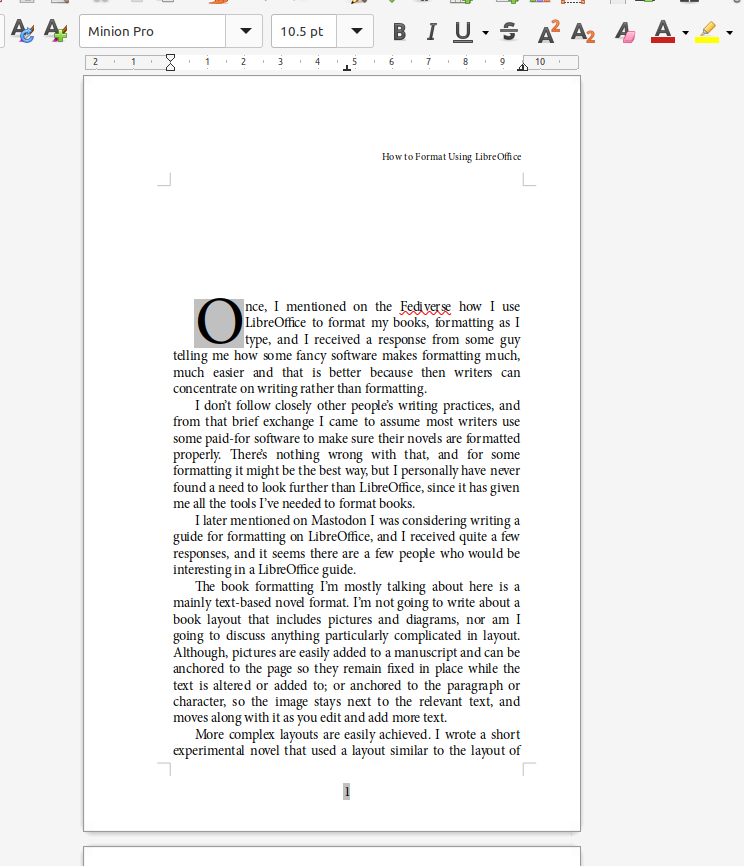
Note: You should also remove the indent from the first paragraph. It would look a bit better that way.
The next Page Style is Default Page Style so as I type it will automatically take me to the Default Page Style for the next page. However, I will have to again add the header to match the Chapter First Page. For the header on page 2, I put the author’s name and aligned it Left.
Now, as I type, the manuscript will continue on Default Page Style with the page numbers counting accordingly. I will have to add the book title to the header again for page 3, but after then, the headers will automatically appear on every page, except when I insert a page with a Page Style that doesn’t include a header or footer (i.e. a Chapter title page).
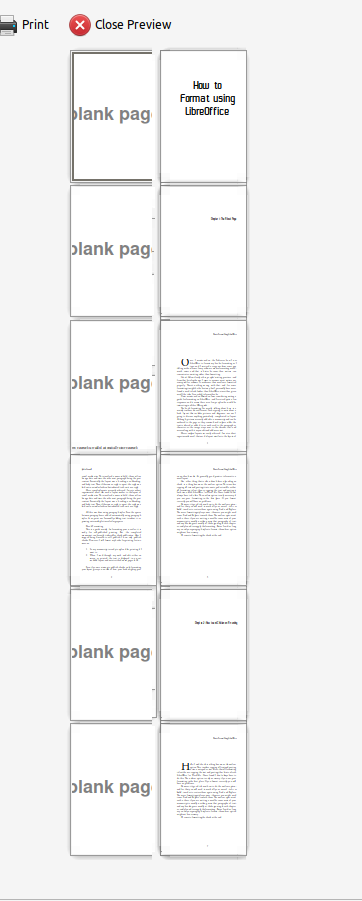
All Done!
Now, every time you want to start a new chapter, simply insert a Manual Page Break and make sure the next style is Chapter Title and proceed as before. You no longer need to start the page numbers at 1 again, so after every Chapter Title, you need only insert a Page Break (Control + Enter) and it will take you straight to the First Chapter Page.
Once you’ve gone through the set up, typing up your manuscript is simple. As I might have mentioned, my basic layout usually isn’t so complicated as the above. The magic of a novel is down to the words you write. As long as the layout looks professional enough, and is readable, that’s all that really matters. A novel is words and paragraphs, so how much formatting do really you need for that?
Sometimes I’ve included a Chapter Title page, but not bothered with the Chapter First Page. Sometimes I don’t bother with the Chapter Title page and just use a Chapter Heading. It’s all personal.
When typing you might want to enter a blank line break between sections, or you can add a new Paragraph Style and insert a centred asterisk between sections. It is important to have at least a blank line break to separate sections if you need one, because when you get to formatting ebooks, a line break works well to split sections.
At the end of the book you might want to add some End Matter or something like that. I think you can work out how to do that for yourself …
Saving the Blank Manuscript Format
You can now delete the text and replace the titles with [Title] ready to be changed for any book project you want to begin.
The file can be saved as a blank novel file or you can save the layout as a template, which is File > Templates > Save as Template. I never bother with this. It’s easy enough to save a ready formatted file, ready to be filled in. Or even create a new formatted manuscript for each novel.
Exporting the Finish Formatted Manuscript as PDF
When publishing a book for print, you simply need to export the whole thing as a PDF. A PDF is a file that cannot be edited, so no accidental changes will be made to your manuscript. If what you see on screen looks good, export it as a PDF and all of that will be retained.
When exporting a PDF the best way to do it is File > Export as > Export as a PDF. Here you will find lots of options to look at.
If you are using images, there are a couple of compression options: Lossless and Jpeg. I don’t know the difference but I’ve always used Jpeg without any issues. One important thing is that you must set the ‘reduce image resolution’ option to 300 dpi. This option may be set to 72 dpi by default which will mean your images will be reduced to a resolution too low for a quality print. Setting it to 300 dpi also means any images larger than 300 dpi will be reduced so they won’t make your manuscript file larger than necessary.
Apart from that, you don’t need to worry about the other options so leave them as they are and only look at changing them if you encounter any problems.
That’s it. Done!
[End of Transmission]
But you might want to publish your novel as an ebook. So how do we get the novel ebook ready? Stay tuned for Part 5 where we will convert the manuscript into an ebook format!